Many wedding photographers struggle in getting consistent good pictures under low light conditions. The typical situations are indoor cocktail dinner, dance floor, indoor reception, etc.
Either they switch to high ISO settings or use flash to bounce off from the roof to light the room. I am ignoring the fact that there are still a few photographers who use direct flash on the face of the subject.
Today I want to share the important tip on how to bounce the flash and how to set the camera and flash settings to get well lit subjects in the pictures. The idea is to simplify the fundamentals so that you can easily remember and use them easily whenever you are in such a situation.
The picture should look natural and should come across as a picture clicked with flash. So what is a natural picture? The picture where the subject is not over lit and the background is not dark. It should “look” as if it was clicked in daylight.
How do you click a natural-looking picture in low light?
I will share the basic settings to start with and you can test out the settings on each location and modify based on the ambient light and how high the ceiling is or how far from any wall you are going to bounce from.
There is one basic fact your need to freeze it in your mind.
I usually start with the flash sync speed of the camera. It is generally 1/200 or 1/250. 1/200 is a good shutter speed to start with. The aperture can be anywhere between F2-F2.8.
Here are the steps on how to :
- Click a few sample pictures so that you have settings that capture natural-looking ambient light. Don’t worry about underexposed people or subjects.
- Try to keep fast shutter speed and low ISO while getting the settings for ambient light.
- Now step up on-camera flash or off-camera flash on the light stand to bounce off light from the ceiling.
- Start with the lowest flash power in manual mode (1/128th) and don’t change the shutter speed or ISO settings.
- Increase the power of flash gradually until you get a properly exposed subject.
That’s it! this will help you in getting good candid pictures that are exposed properly yet not overpowered by flash.
How to Bounce: Sample pictures using ambient light and using flash
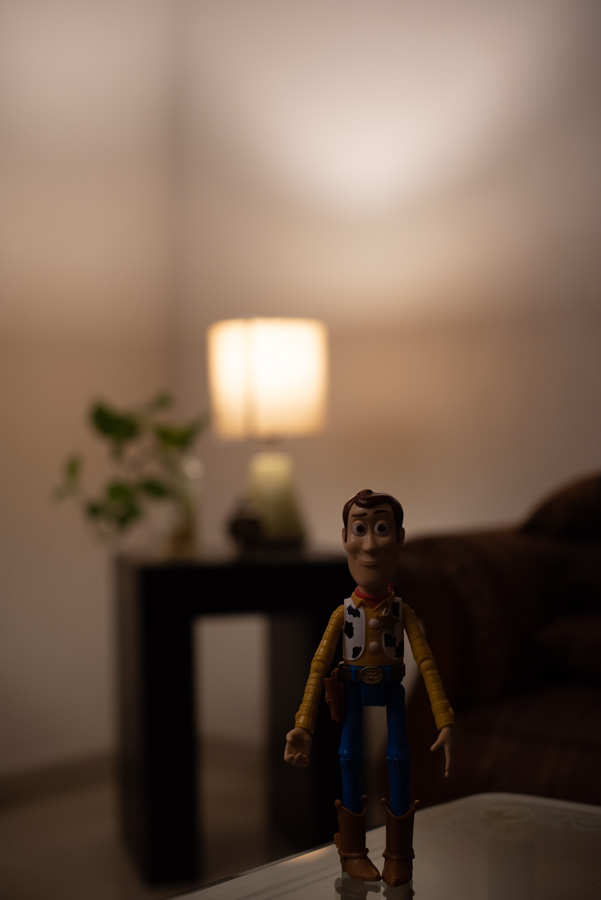

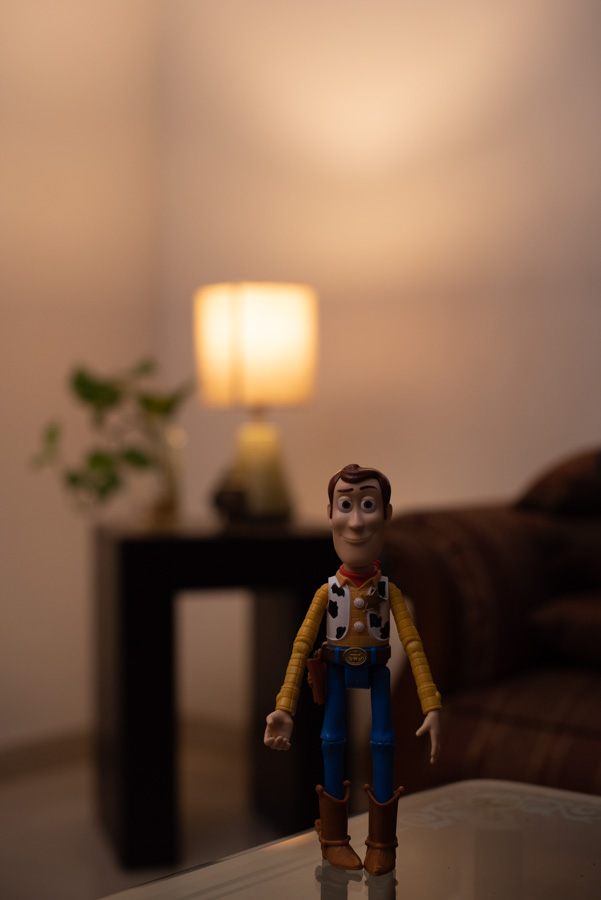


These unedited pictures represents how the subject exposure improves with increase in flash power without changing other camera settings.
Please do make a note that the setting will change from location to location but these steps will help achieve the setting. Also if the light is bouncing off from a colored surface, the subject will have the same color cast. Always shoot in raw so that you can tweak the white balance easily in post-processing.
Let me know in the comments if you have any queries.

